How to File a Lost Item Report That Actually Helps People Find Your Stuff

Kevin Hall
Mar 26th, 2026
·7min read
Mar 26th, 2026
·7min read
Most lost-item reports fail for a simple reason: they are too vague to match, too public to be safe, or missing the details that actually help a finder, venue, or platform identify the item.
A strong report does not need to be long. It needs to be accurate, specific, and easy to act on. If you have already done the immediate recovery steps covered in What to Do If You Lost Your Wallet: A Step-by-Step Recovery Guide or Lost Your Phone? Exact Steps to Take Before Someone Else Finds It, this is the next step that gives you the best chance of a real match.
This guide explains what to include, what to leave out, and how to write a report that actually helps someone get your stuff back to you.
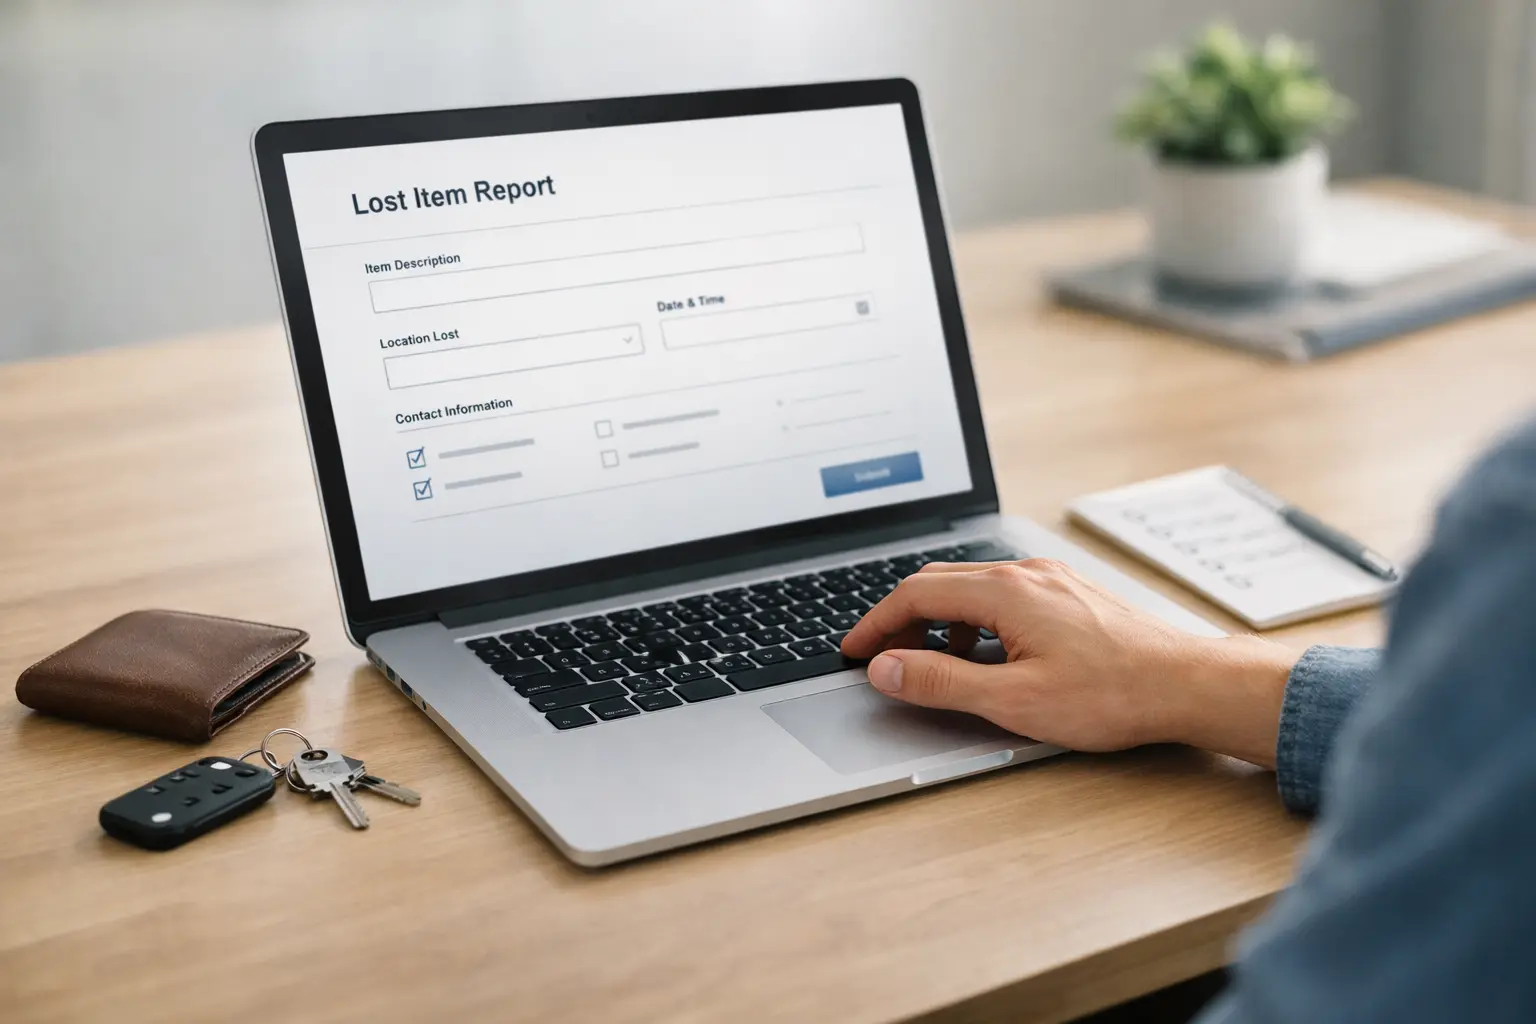
Your report is not just a record that something went missing. It is a matching tool.
It should help a real finder or lost-and-found team answer three questions quickly:
That means the best report is usually:
If you only get a few things right, make it these:
Those five details do most of the work in a successful match.
For example, compare these two descriptions:
Weak:
“Lost my phone in town. Please contact me if found.”
Useful:
“Lost a black iPhone 14 with a dark green case between the station exit and the café on Dame Street on Tuesday between 6:10 and 6:40 pm. Small crack near the top-left corner. Please email or text if found.”
The second version gives someone a real chance to recognise the item and route it correctly.
Think in layers, from broad to specific.
Include:
Good examples:
Bad examples:
If you are filing a public report, do not include every unique identifier. Hold some details back for ownership checks later.
Most reports fail because the location is too broad.
Instead of:
Use:
If you moved through several places, list them in order of likelihood rather than pretending you know the exact spot.
A clear location note sounds like this:
“Most likely lost between the hotel reception desk and the taxi rank outside, around 8:00 to 8:20 am.”
That is much more useful than a broad city-level guess.
You do not need the exact minute. You do need a believable range.
Use the last time you definitely had the item and the first time you noticed it was missing. Then narrow the gap if you can.
Helpful clues include:
Good:
“Last confirmed at about 5:50 pm in the cinema foyer. Missing by 6:25 pm when I arrived home.”
Less useful:
“Sometime this week.”
Staff and finders usually work from shift logs, venue records, or batches of handed-in items. A tighter time window makes that search far easier.
Photos can be powerful, but they are not always necessary and they are not always safe.
Useful photo choices:
Avoid posting:
If a platform allows private attachments, save the more sensitive proof for private verification rather than public display.
People are less likely to help if your report makes contact awkward.
Use one main contact channel and make the next step obvious.
Good contact lines:
Avoid:
A lost-item report should help matching, but it should not make impersonation easy.
Hold back a few facts that only the real owner should know, such as:
That matters later if someone says they found your item and you need to confirm it safely. The ownership side of that process will matter even more in the planned guide on proving an item is yours.
Example 1: wallet
Bad:
“Lost my wallet yesterday. Please message me.”
Better:
“Lost a slim dark brown leather wallet on Wednesday evening, likely between the supermarket checkout and the car park on Rathmines Road. It contains bank cards and ID. If found, please email me. I can confirm identifying details privately.”
Example 2: phone
Bad:
“iPhone gone missing near airport. Reward.”
Better:
“Lost a black iPhone with a blue silicone case in Terminal 1, most likely between security and the coffee shop near Gate 12, around 7:15 to 7:45 am. Small chip on one corner. Please text or email if handed in.”
Example 3: keys
Bad:
“Lost keys in the park.”
Better:
“Lost a set of three keys on a black ring with one yellow gym tag, likely near the east gate of the park or the nearby café terrace on Sunday morning between 9:00 and 10:00 am. Please get in touch and I can identify the key types privately.”
If you need a fast starting point, use this:
“I lost a [item type] that is [colour, brand, or key identifying feature]. It was most likely lost at [specific location] on [date] between [time range]. A distinguishing detail is [one safe identifying feature]. If you may have found it, please contact me at [preferred contact method]. I can confirm additional details privately.”
This format works because it is easy to scan and leaves room for safe verification later.
Do not file the report once and forget it.
Update it if:
Small updates can turn an unmatchable report into a clear one.
How long should a lost item report be?
Usually short to medium length. One tight paragraph with the right details is better than a long story with no useful identifiers.
Should I include everything that was inside the item?
No. Include only what helps recognition without making false claims easier. Keep some proof private.
Do photos always help?
Not always. Use them when they clearly identify the item, but avoid uploading anything that exposes sensitive personal data.
What if I am not sure where I lost it?
List the most likely places in order and explain the route. That is better than pretending certainty or giving an area that is too broad to search.
What should I do after filing the report?
Monitor replies, update the report if you remember more, and keep checking the places most likely to receive handed-in items. If you have only just realised something is missing, the immediate response guide you need next is the planned article on what to do in the first hour after losing something important.
Whether you've lost a cherished item or found something that belongs to someone else, posting an ad on lostandfound.io can help reunite items with their owners. It's free and easy to do.
Post a FREE ad